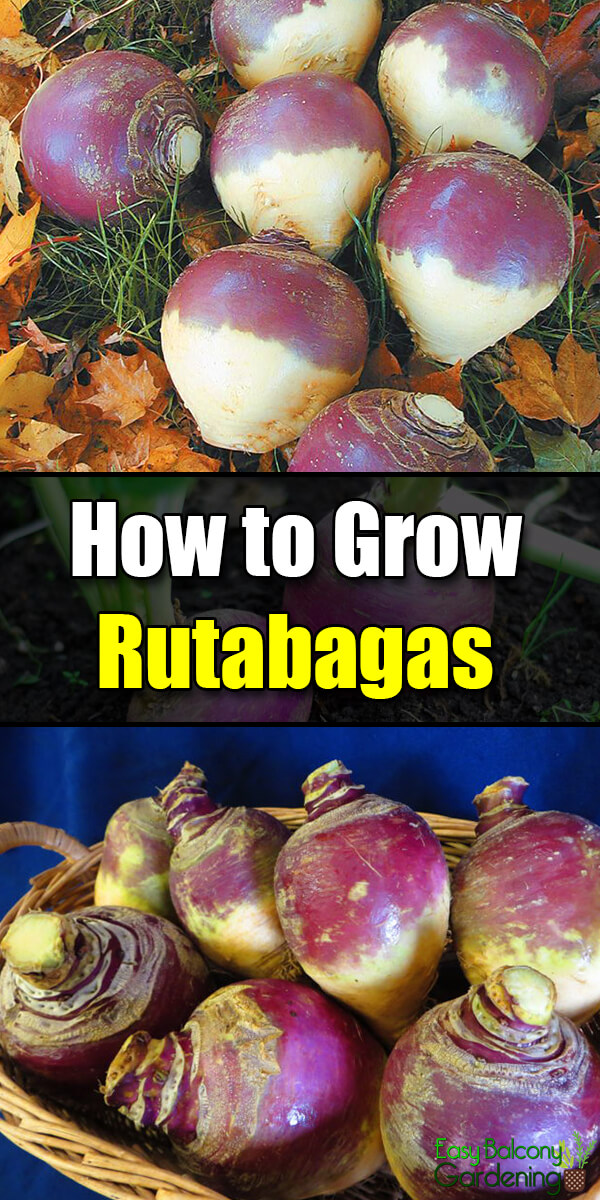
The rutabaga is a root vegetable that can be eaten raw or cooked. Its leaves are a flavorful addition in salads. It is a very good source of dietary fiber, vitamin C, manganese, and potassium, and a good store of calcium, folate, magnesium, phosphorus, thiamin, and vitamin B6.
Propagating Rutabaga
The rutabaga is propagated from seed. With soil temperature of 45ºF – 85ºF, germination time will take approximately from one to two weeks. If you do not handpick the mature seeds, the seedpods will break open on the stalk. To store the seeds for next season’s seed harvest, dry them in the sun down to about 8% moisture, and store in an airtight jar or freezer bag. Place in a cool, dry place.
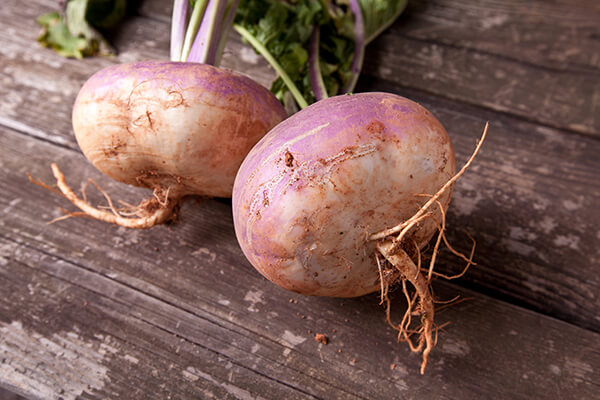
Rutabaga
Cultivating the Rutabaga
- Select a location that has light, well-drained soil. Poor soil can cause a woody texture for the rutabaga.
- Timing for a fall harvest is important if you want the most flavor. If you are growing rutabaga for the root, plant in the spring and harvest in the fall.
- Sow the rutabaga after the last threat of frost in the spring. Work the soil at least six inches deep. If necessary, get a soil test and follow the report. Make sure you work in plenty of organic matter, like ripe compost and well-rotted manure. Remove large debris and rocks to allow for free root growth.
- Rake lightly after you throw the seeds in the prepared rows. The seeds should be about half an inch deep and the rows about a foot or two in between. Water well immediately after planting.
- Encourage the development of good roots by watering regularly, without overdoing it. The soil has to be consistently moist. Do not allow to dry out between irrigation.
- When your seedlings are two inches tall, thin them to six inches apart. You can use the thinned seedlings in salads or soups. Carefully work the soil around the remaining plants to loosen it for the roots, to aerate the soil, and to remove any weeds. The rutabaga is low-growing, so you will not have much of a weed problem. However, you still need to keep your rutabaga rows clean.
- In about three months, depending on the variety you planted, your rutabaga will be ready for harvest. Ideal harvesting time is when the rutabaga is young and tender, when they are about five inches in diameter. If your climate is mild, it is possible to leave the larger rutabagas in the garden clear into the winter.
Diseases and Pests
Diseases are infrequent. The rutabaga may suffer from mildews and white blisters. Spread wood ashes around the rutabaga to control scab. Watch out for these pests:
- Aphids – You may be able to use just a strong blast of water on the aphids. Or, you can plant some hairy vetch as a companion plant. Ladybugs like hairy vetch and they feed on the aphids.
- Flea beetles – cover the row of plants until the blooms appear and the plants are strong. Cover them also during the second year of growth.
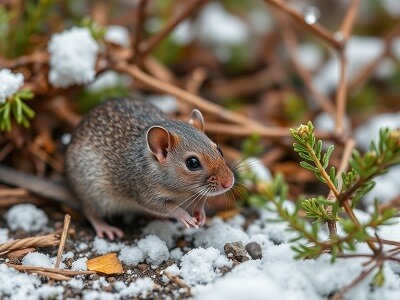
- Root maggots – do not sow rutabaga in the same spots two years in a row, or you may have a real problem with this pest.
- Other pests – you are looking at cutworms, slugs, snails, white cabbage butterflies, etc. You can use organic insecticides. Or, you can handpick them (with a gloved hand).
Rutabaga will cross-pollinate with turnips. If you are cultivating both vegetables at the same time, make sure that you grow the rutabaga and the turnips in separate location – far from each other!