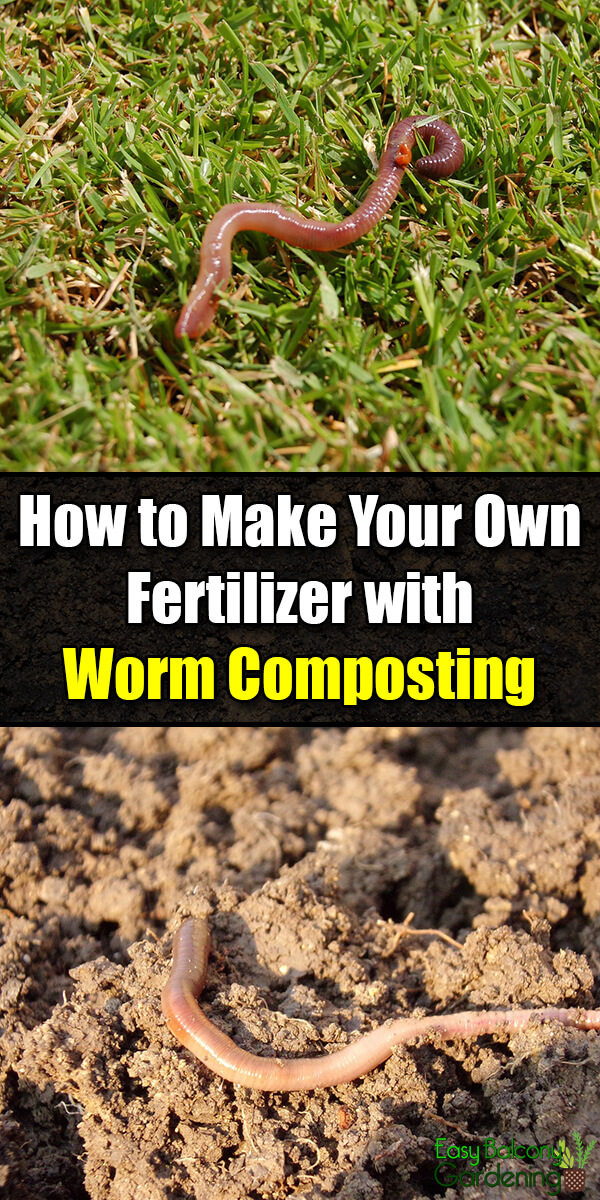
Worm composting is the method of utilizing worms into turning food scraps and other organic matter they eat into “vermicompost.” The entire process is called vermin-composting or vermi-culture. Bacteria is also a vital element for the decomposition process of the vermicompost. The end product is a nutrient-rich, soil conditioner and natural fertilizer. Additionally, worm composting can be done either indoors or outdoors.
Use the Right Type of Worms
- It is not good practice to use just any earthworms for worm composting
- Those that are not red-colored do not produce worm compost as a result of good digestion. Night crawlers are likewise not a very good choice for worm composting, since they have a very low survival rate in the moist areas.
- If you want a good process of worm composting, use the red wigglers or red earthworms.
The Right Food for the Right Worms
- Another key to successful worm composting is by feeding the right food to your red wigglers and red earthworms. Although they do not have eyes, they have light receptors. They find their way through vibrations and by touch.
- The red wigglers and red earthworms are best for worm composting as they will digest any food you give them like vegetable stocks, leaves, fruits, banana peels, manure, compost heaps, etc.
- When worm composting, stay away from cooked food, meat, dairy products, and oils as they take more time to break down and they attract pests.
- Although raw fruits are good when worm composting, you should stay away from overly acidic ones as orange rinds.
- When worm composting, give your worms plenty of raw vegetable scraps, but avoid odorous ones as broccoli and onions.
- Do not give your worms foods that are high in water content. In worm composting, these types of food provide little for the worms and just add more moisture in the bin.
- Grass with pesticides, oily stuff, bone, highly spiced foods, and plastics should never be added in the worm composting bin. These not only prolong the digestion process but also release toxins that are harmful to the worms
The Worm Composting Bin
- Although almost any container will work as a worm composting bin, one made of wood will provide better insulation for the worms. In worm composting, a plastic bin will require more holes than wood.
- Raise the worm composting bin on blocks for proper air circulation, and place a tray underneath to capture any excess liquid, which can also be used as fertilizer.
- The number of holes to be drilled in the bottom of the worm composting bins will depend on their sizes. A 2’ x 2’ x 1’ deep cube, a small size, should have at least 12 holes in the bottom for proper drainage and aeration. A plastic worm composting bin may require more holes for necessary drainage, as it is not absorbent like a wood container.
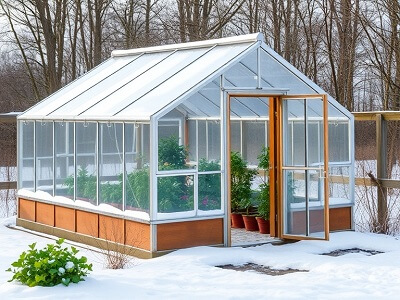
- Keep the worm composting bins covered. Protect the worm composting bins from extreme temperatures. Bring them indoors or insulate them. Bubble wrap and styrofoam are good insulators.
- Under proper conditions, your worms can survive in the worm composting bins up to a year.
The Vermicompost
- Begin your worm composting by choosing a moist bedding. Keep this bedding moist, but avoid excess liquid in the bin.
- Add the worms, then add the food. Keep adding the food.
- To ensure the survival of the worms, make certain that the worm composting bin has some oxygen.
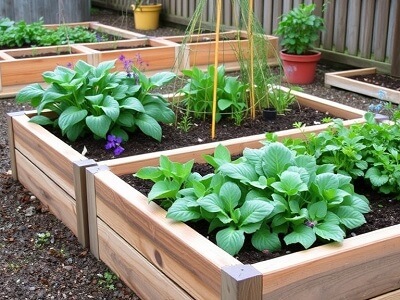
- The resulting vermicompost aids tremendously in your plants’ growth and development. They retain moisture, and their physical structure is greatly improved.
Proper Worm Composting Pays
Correct worm composting enhances seed germination, as vermicompost is rich in enzymes, plant hormones, and other important microorganisms.