If your purpose is to can low-acid foods, think pressure canning. Remember, a canning pressure cooker is not the same as a pressure cooker. Regular pressure cookers are not recommended for canning pressure cooking.
Weighted Gauge vs. Counterweight
- The canning pressure cooker you purchase has a weighted gauge to indicate and regulate the pressure.
- Read the manufacturer’s instructions carefully as you will need to learn how that weighted gauge rocks.
- If you opted for a dial gauge pressure cooker that comes equipped with a counterweight, find out if it is a dial gauge system that you can use both as a dial gauge and a weighted gauge. If not, be aware that the counterweight will not rock. It is different from a weighted gauge.
- Make sure that your canner is at least big enough to handle four quarts jars.
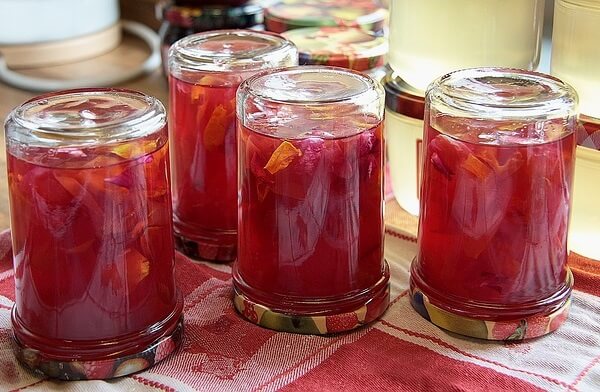
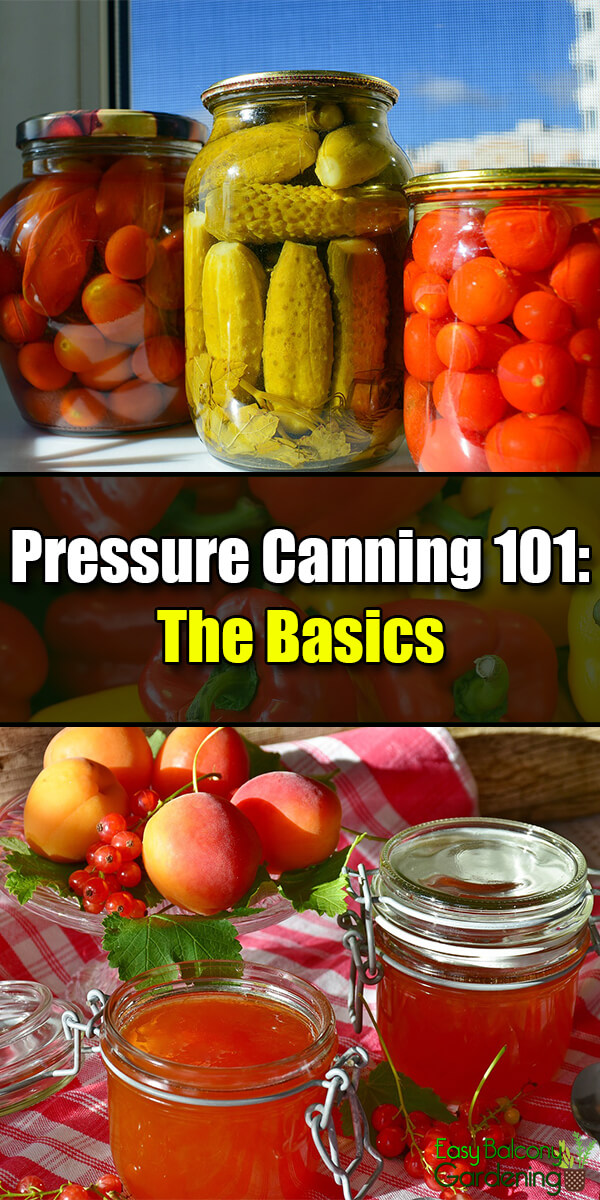
Delicious canned red stuff.
The Basics
- There are basic things you need to know with canning pressure cooking.
- Your dial gauge should be checked for accuracy each year before canning season. Check it at 5, 10, or 15 pounds pressure. Replace the gauge if it is more than two pounds off. If you do canning pressure cooking repeatedly during the season, have your cooker checked very often. The once-yearly check-up recommendation does not apply to you.
- The vegetables for canning pressure cooking should be firm and at its best. That means, they should neither be too ripe nor too immature
- Sort the vegetables according to size. Be sure to remove any blemishes, imperfections, etc. from the produce.
- Wash the vegetables thoroughly but do not soak them. Scrub the dirt off if necessary.
- Inspect your jars and bands very carefully. For safe canning pressure cooking, do not use anything with cracks, nicks, dents, etc.
- Follow the manufacturer’s directions on how to prepare the lids
- Situate the jars so that the steam is free flowing around them. If your pressure canner is sufficiently large and you want to place another layer of pints, make sure there is a flat rack in between layers.
- The usual headspace required for canning pressure cooking is one inch. If you use a canning funnel to put the foods in the jars, you can use the funnel’s bottom as your guideline. Between its bottom and the top of the jar is an inch of headspace.
- Be very familiar with the canning pressure cooker you purchased. You should know how to operate it before you use it. Follow the manufacturer’s directions precisely. Guesswork is not an option with canning pressure cooking.
- With canning pressure cooking, the processing time is different for each vegetable. Read your recipe carefully.
- Make sure that there is not any pressure left in the cooker prior to lifting the canner’s lid. Safety is part of canning pressure cooking.
- Do not hurry the cooling of the finished jars. Let them cool naturally away from draft. Place the cooling jars on a rack, a folded towel, or on a wooden board – anything that will permit air circulation around the jars.
- Remember that with canning pressure cooking, cooling time is included.