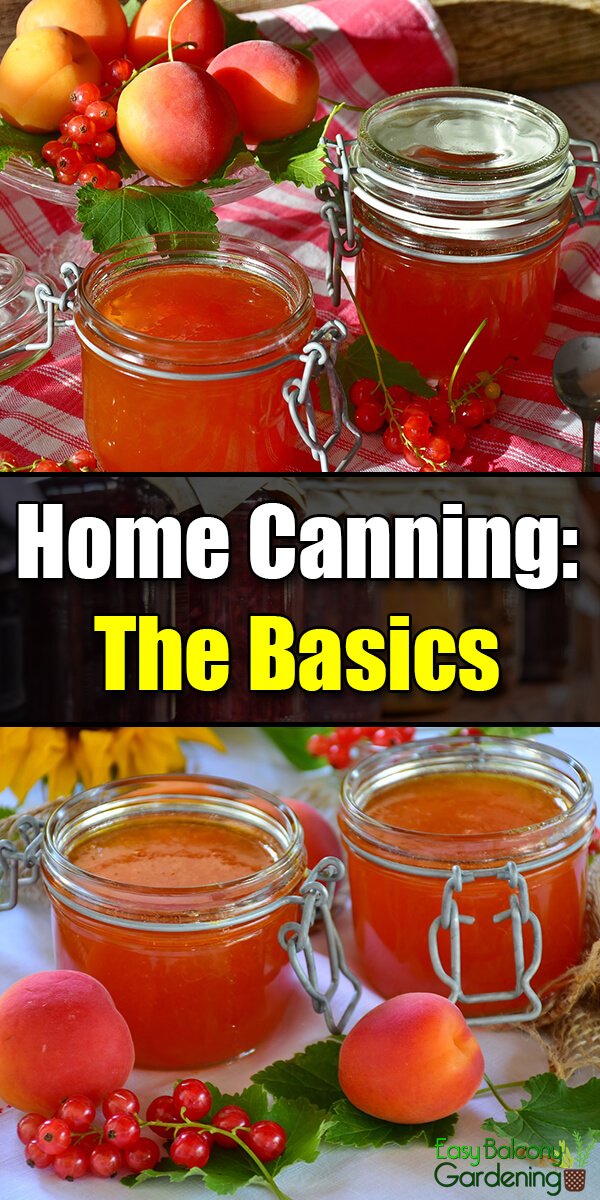
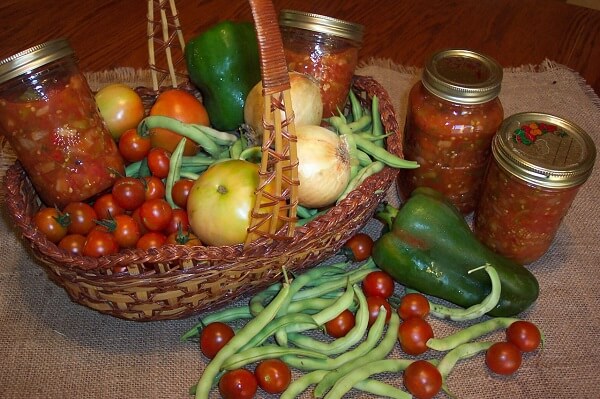
Home canning is an integral part of provident living. The practice gives you the satisfaction and peace of mind of having food for your family even during stressful times.
An Invitation!
If you have not done so, we invite you to try your hand at home canning. Grow your own garden and process those fruits and vegetables that are more than you need for table food. More than that, your canned produce would make very good gifts for many special occasions.
Know Which Proper Method to Use
- Start with knowing the proper home canning method for what you are processing
- Separate low-acid foods from high-acid foods.
- Pressure canning and water bath canning are two approved methods of home canning for food preservation. Use pressure canning for low-acid foods and water bath canning for high-acid foods.
- If you are mixing low-acid and high-acid foods, like when you are home canning spaghetti sauce, you need to use the pressure cooker. Otherwise, you are risking spoilage.
- Safe home canning also means consuming canned goods within two years of processing although they should last longer than that. It is very important that you label the date of processing. Rotate your home canned goods. Always use the newly processed ones in the back and place in front those that are oldest.
Inspection Is a Vital Step
- A very important preparation for home canning is inspecting your jars and lids
- Check for nicks and cracks in your jars
- Any nick and even a small crack can cause your jars to break during the processing.
Lids Are Not Reusable
- Do not reuse home canning lids!
- Even when they are new, you should inspect the lids and bands for dents and any other imperfections
- You can wash your home canning jars and bands in the dishwasher and leave them there until you are ready to use them
- Follow precisely the manufacturer’s instructions on preparing the lids.
Keep the Water Boiling
- Keep some boiling water handy
- You will need to keep the boiling water in the canner at least one inch over the top of your home canning jars.
Filling the Home Canning Jars
- Fill the home canning jars carefully and leave half an inch to an inch of headspace, depending on the type of food you are processing.
- Gently use a rubber spatula to relieve the home canning jars of any bubbles. Do not use a sharp knife or anything that can cause the home canning jars to be scratched.
- Wipe the rims of the home canning jars with a clean, damp cloth after filling them with food. Even a small tomato seed left on the rim of the home canning jars can cause improper sealing and thus spoilage.
- Make sure that the boiling water never goes below one inch on top of the home canning jars being processed.
- If you are not using a commercially prepared water bath canner, make sure that your container is big enough to allow adequate space between home canning jars. The home canning jars also should not touch the bottom of the canner.
Cooling Finished Jars
- When cooling your finished jars, do not set them directly on the counter
- Place either a doubly folded towel or a wooden board under the jars
- Cool them undisturbed away from draft
- Inspect for proper seal when the finished jars have completely cooled.
Three-Way Test for Properly Sealed Home Canning Jars
- Hear the seal – As your home canning jars are cooling, you will hear a “clink.” That is a good indication that your processed home canning jar has been sealed.
- See the seal – A properly sealed home canning jar will have a curved lid, or an indentation in the middle.
- Feel the seal – Do this only after the home canning jar has completely cooled. Press the center of the lid. It should not move at all. If it does, you need to reprocess the food.
Home canning is an important skill to learn, if we are to live providently!