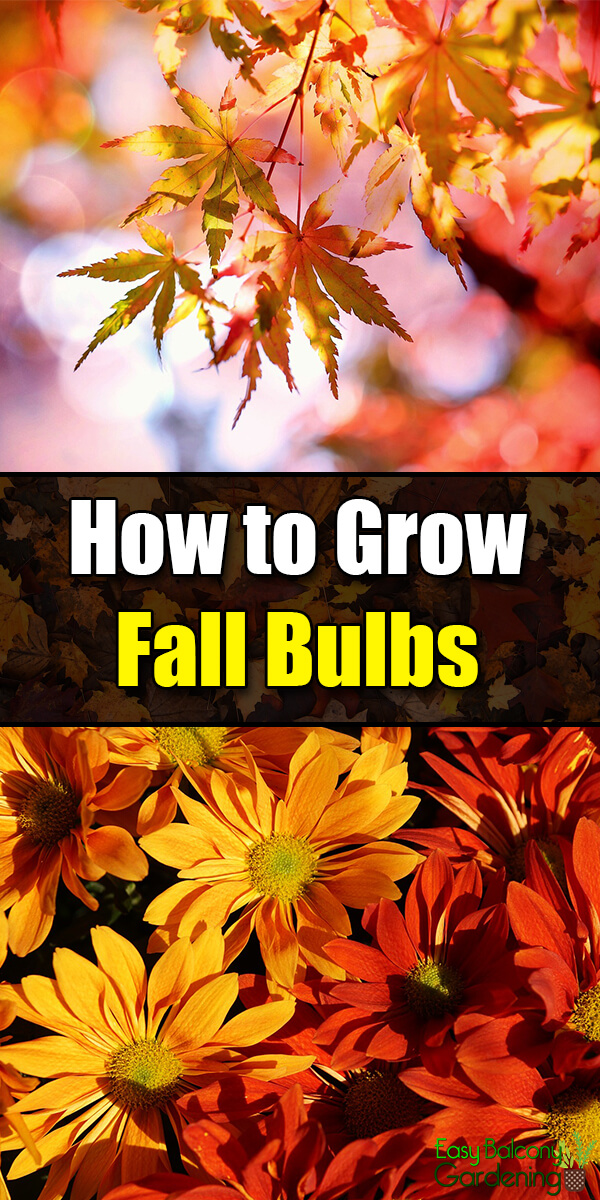
Most anyone can cultivate fall bulbs. Just do not remove the leaves or pull the plants right after the blooms die. The leaves need time to transport nutrients to the bulbs for storage.
Timing
For fall bulbs, start buying them early. The colors and varieties of fall bulbs move shoppers to start hunting for them by September. Wait about four to six weeks after the first frost, or delay at least until October to plant them. The weather cannot be warm and humid as that can cause rapid growth and blight the fall bulbs’ spring bloom.
Location
Carefully plan your spot. Spring and summer suns vary in intensity, but most bulbs like full sun. Check trees, buildings, fences, etc., that can obscure the bulbs from sun rays. Do not plant the fall bulbs closer than five feet from building foundations. You do not want the heat emanating from those buildings.
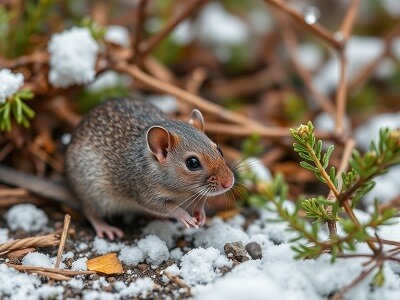
Deer Troubles
Try some fertilizer/deer repellent combination tablets. Simply situate a tablet below each fall bulb at planting. It will nourish your fall bulbs through the winter as well as allow the repellent to go through the whole plant including its root system. The deer do not care for the taste and smell of these tablets, but the bulbs love them.
Propagation
It takes several years to produce blooming plants from seeds. If you do not have the patience, purchase your fall bulbs. For indoor cultivation, choose the top size only. Check for bruising and firmness. Every two years, separate the fall bulbs after the plant has died. Dig the bulbs and discard the unhealthy ones. If you cannot replant them right away, store the bulbs in a dry, cool place. Periodically check your bulb storage. Discard those that show signs of rotting. For roots, they need to be immediately replanted in another location. If that is inconvenient, store them in moist soil in a dark place and plant as soon as possible. Tender bulbs need to be dug prior to the soil freezing.
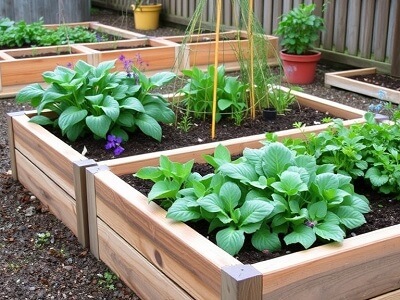
Cultivation
Turn over the soil and break down the clumps to prepare the flowerbed. A bulb planter makes it easy. Add some peat moss, especially if it is a new flowerbed. Add bulb fertilizer and cover with more potting mix. You can mulch thinly the hardy bulbs, but not the tender bulbs. The mulch can hinder the tender bulbs from popping through. Tender bulbs can be planted in containers, but they will need more frequent fertilization. Use winter cover for the tender bulbs, especially if you are expecting a long cold winter.
Planting Depth
Usual planting depth for bulbs and corms is from two to three times the bulb’s diameter. Watch out for exemptions, like the Madonna lily that should be planted immediately below the soil surface. For rhizomes and tubers, check your nursery instructions carefully as the depth will depend on the particular plant. Iris rhizomes, for example, should be just at the surface of the soil, whilst dahlia tubers should be planted more deeply. Likewise plant more deeply in sandy soil than in clay.
Irrigation
If you want blooms, water your fall bulbs when they need it. Never over-water. At planting time, water them thoroughly. Do not leave further watering to rain or snow particularly if you have a dry winter. More than the right type of soil condition (usually with pH range of 5.5 to 6.5), fall bulbs require good drainage. If necessary, opt for a raised garden bed to improve drainage. If your fall bulbs are in containers, make sure the drainage is adequate.